
Published February 15, 2026
From Shoebox to Showcase: How to Create Beautiful Collages from Your Old Photos
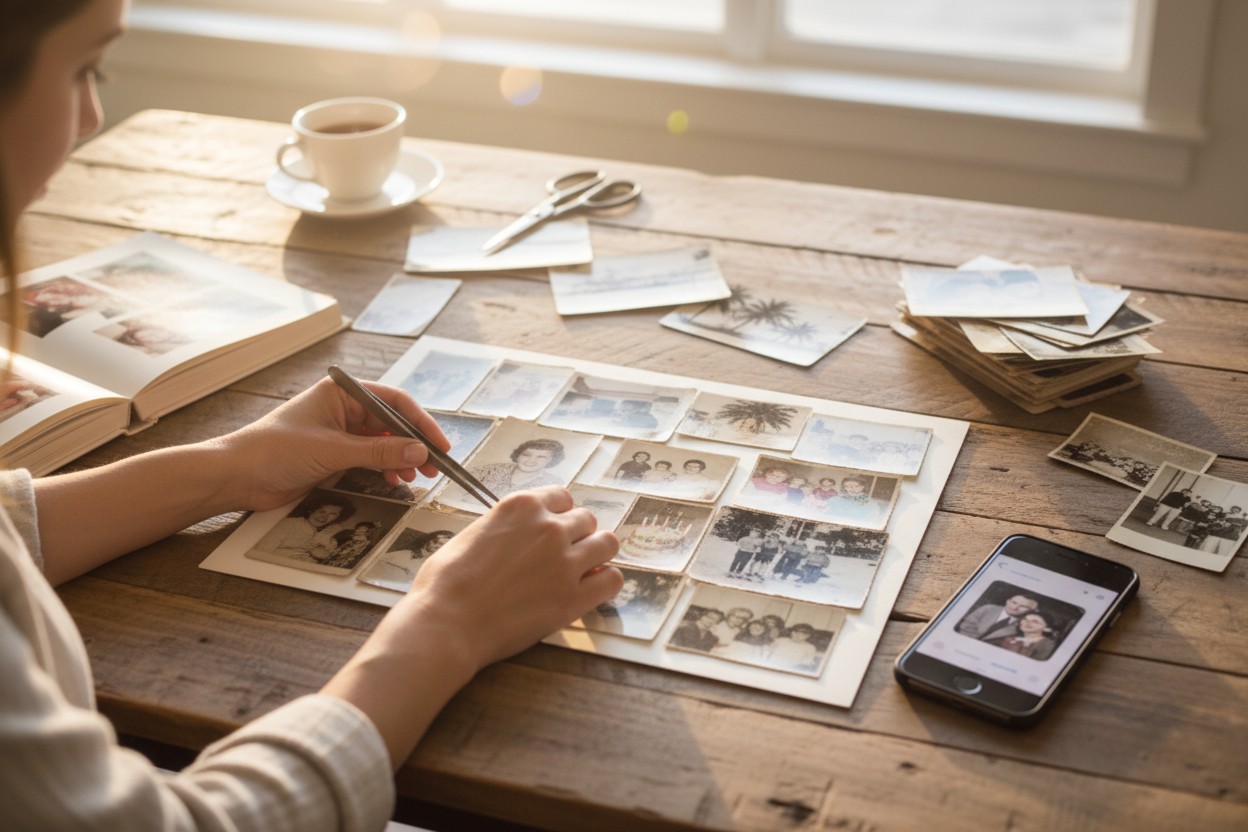
We’ve all been there. You open a dusty shoebox or a forgotten album and are suddenly transported back in time. There’s Mom with her 80s perm, a blurry photo of your first birthday cake, and a sun-faded snap from a family vacation you’d almost forgotten. These precious paper photos are windows to our past, but keeping them hidden away does them a disservice. So, what’s the best way to celebrate them? A photo collage!
A collage is more than just a collection of pictures; it's a visual story. It’s a beautiful, creative way to bring your most cherished memories out of the dark and into the light. Whether you’re a hands-on crafter or a digital native, here’s your guide to turning those old photos into a stunning masterpiece.
First Things First: Digitize Your Memories
Before you get out the glue or open a design app, the most crucial first step is to digitize your photos. Creating a digital backup is essential for two reasons: it protects your priceless originals from damage, and it gives you the flexibility to create as many projects as you want without fear of making a mistake.
This might sound like a huge task, but it doesn’t have to be. With the Photomyne app, you can scan multiple photos in a single shot. The app automatically detects, crops, and enhances each image, often restoring faded colors to their former glory. Once your photos are safely scanned and stored in a digital album, you’re ready to get creative. Your original photos can be safely stored away while you work with high-quality digital copies or prints.
The Classic Craft: Making a Physical Photo Collage
There’s something uniquely satisfying about creating a collage by hand. It’s a wonderful weekend project and a chance to physically connect with your memories.
Here’s how to get started:
- Gather Your Supplies: You’ll need a base (like a poster board, corkboard, or a large picture frame backing), prints of your digitized photos, scissors, and an adhesive. For best results, use an acid-free glue stick or photo-safe tape to prevent your prints from yellowing over time.
- Pick a Theme: A great collage tells a story. Your theme could be a person’s life, a specific decade, a family vacation, or even a collection of "all smiles." A theme helps you select the best photos and creates a cohesive final piece.
- Plan Your Layout: Before you glue anything down, arrange your photos on the board. Play with the layout! You can overlap them for a classic scrapbook feel or arrange them in a neat grid for a modern look. Identify a few key photos to be your focal points and build the rest of the collage around them.
- Assemble and Frame: Once you’re happy with the arrangement, start gluing your photos down, working from the background to the foreground. Let it dry completely, and then consider placing your creation in a beautiful frame to protect it and give it a polished, professional finish.
The Modern Method: Designing a Digital Collage
If you prefer a cleaner, more versatile option, a digital collage is the way to go. The possibilities are endless, and you can easily share