
Published February 25, 2026
Scanning Old Photos for Mom: A DIY Guide to Preserving Your Family's Legacy
In a closet, an attic, or tucked away under a bed, there’s a box. Or maybe it’s a stack of dusty, rubber-banded albums. Inside, a treasure trove of memories waits: Mom’s prom night, your first steps, a family vacation to a place that’s since changed beyond recognition. These faded, dog-eared photographs are more than just paper; they are the physical anchors of your family’s story. And you’ve decided to take on a project that is equal parts archaeology and love: digitizing them for Mom.
This is a wonderful, heartfelt gift. But where do you even begin? The task can feel monumental. Don't worry. This guide will walk you through the process, step-by-step, turning a daunting chore into a rewarding journey down memory lane. Let's get our hands dusty and bring those memories into the 21st century.
Phase 1: The Great Excavation (Preparation is Everything)
Before you scan a single image, a little prep work will save you hours of frustration later. Think of yourself as a museum curator preparing a new exhibit. Care and organization are key.
Gather Your Tools
You don’t need a high-tech lab, just a few simple items:
- Microfiber cloths: To gently wipe dust and fingerprints off photos without scratching them.
- Canned air: Perfect for blowing away stubborn dust from photos and your scanner surface. Avoid blowing directly with your mouth, as you can accidentally spit on the prints.
- Cotton gloves (optional but recommended): To handle delicate or very old photos without transferring oils from your skin.
- A clean, flat, well-lit workspace: Your dining room table is a perfect candidate. Good lighting is crucial for spotting imperfections and for getting quality scans.
Organize, Organize, Organize!
This is the most important pre-scanning step. Resist the urge to just grab a stack and start. You’ll thank yourself later. Sort the photos into logical piles. This could be:
- By Year or Decade: Group all the photos from the 70s, 80s, 90s, etc.
- By Event: Weddings, birthdays, holidays, vacations.
- By Person: A pile for Grandma, a pile for your childhood, etc.
This not only makes the scanning process more efficient but also helps you create organized digital folders later. As you sort, you’ll start to piece together a timeline of your family’s history. This is where the project really starts to become magical. You’ll find photos you’ve never seen and rediscover moments you’d long forgotten.
Phase 2: Choosing Your Weapon (The Scanning Methods)
Now for the main event. There are two primary DIY methods for scanning photos, each with its own set of pros and cons. The best one for you depends on your budget, your time, and your desired quality.
Method 1: The Traditionalist - The Flatbed Scanner
A flatbed scanner is the workhorse of photo digitization. If you’re aiming for the highest possible quality and archival-grade digital copies, this is your best bet.
Pros:
- Superior Quality: Flatbed scanners capture images at a very high resolution (DPI, or dots per inch), resulting in sharp, detailed digital files that are perfect for printing large copies.
- Even Lighting: The scanner provides its own controlled light source, eliminating issues with glare, shadows, and inconsistent color.
- Versatility: It can handle various sizes of photos, from tiny passport pictures to large 8x10 prints.
Cons:
- Time-Consuming: Scanning one photo at a time (or maybe 3-4 if they fit on the glass) is a slow and methodical process. A shoebox of photos can take many hours, or even days.
- Cost and Space: If you don’t already own one, a good scanner can be an investment. They also take up desk space.
Tips for Flatbed Scanning:
- Clean the Glass: Use a microfiber cloth to wipe down the scanner glass before every session. Dust on the glass will show up in every scan.
- Choose Your Settings: For standard prints, a resolution of 600 DPI is a great all-purpose setting. It’s high enough for quality reprints and enlargements. For archival purposes or very small photos you want to enlarge, consider 1200 DPI.
- File Format: Scan as a TIFF file if you want a lossless, uncompressed image for archival purposes. These files are very large. For general sharing and storage, a high-quality JPEG is perfectly fine and much smaller.
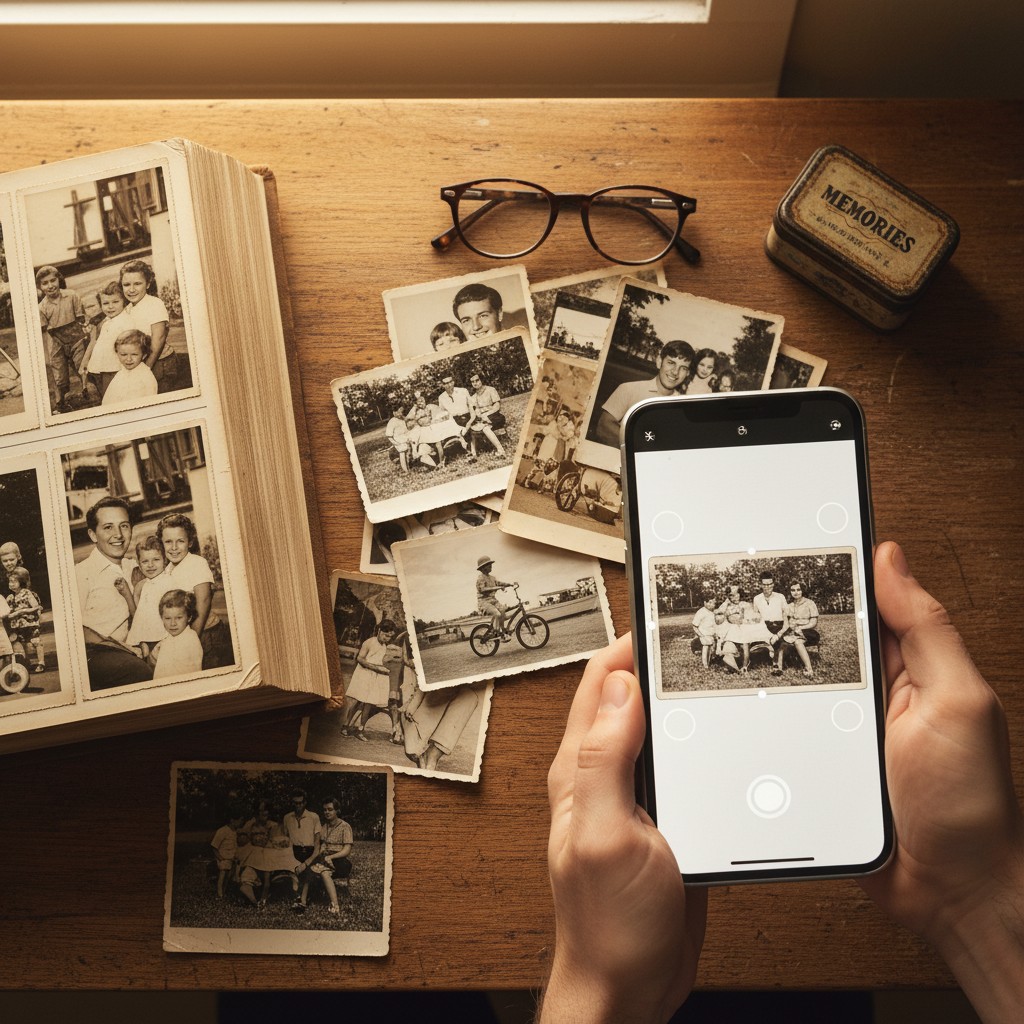
Method 2: The Modernist - Your Smartphone
Don’t underestimate the power of the supercomputer in your pocket. Modern smartphone cameras are incredibly capable, and with the right technique and app, you can digitize photos with surprising speed and quality.
Pros:
- Incredibly Fast: You can scan an entire album page or multiple loose photos in a single shot. This is by far the fastest method.
- Convenient and Free (mostly): You already have the hardware. Many great scanning apps are free or have a modest cost.
- Instant Gratification: Photos are instantly on your phone, ready to be edited, organized, and shared.
Cons:
- Quality is Dependent: The final quality depends on your phone’s camera, your lighting, and your steadiness.
- Potential for Glare and Distortion: Scanning glossy photos can be tricky due to reflections. Holding the phone at a slight angle can cause perspective distortion if not corrected by software.
Tips for Smartphone Scanning:
This is where dedicated apps become your best friend. While you could just use your phone’s camera, a specialized photo scanning app is designed to solve the exact problems you’ll face. Apps like Photomyne, for instance, have truly changed the game here. They are built on the belief that every family photo tells a story worth keeping. Their AI-powered technology can detect the edges of multiple photos in a single shot, automatically crop and separate them into individual images, and even perform enhancements like color restoration on faded prints. It’s a huge time-saver and a touch of digital magic that can breathe new life into old pictures, making it an excellent tool for a project like this.
- Find Good, Indirect Light: Natural daylight near a window is best. Avoid direct overhead lights which cause glare. If you see your reflection in the photo, adjust your position.
- Lay Photos on a Flat, Neutral Background: A simple white or black poster board works well.
- Hold Your Phone Parallel: Keep your phone flat and directly above the photos to minimize distortion. Some people even build simple DIY stands to hold their phone perfectly steady.
Phase 3: The Digital Shoebox (Organization and Backup)
You’ve scanned the photos. The project is done, right? Not quite. Now you have a folder full of files named `IMG_2401.jpg`. This is where your earlier organization pays off.
Create a Naming System
Rename your files in a consistent way. A great format is `YYYY-MM-DD_Event_Description.jpg` (e.g., `1985-06-15_Moms-Wedding.jpg` or `1992-00-00_Family-Vacation-Disney.jpg`). If you don’t know the exact date, the year is fine. This makes your collection searchable and future-proof.
The 3-2-1 Backup Rule
Your digital photos are just as vulnerable as the physical ones. A hard drive can fail. A phone can be lost. Protect your hard work with the 3-2-1 rule:
- 3 Copies of your data.
- 2 Different Media (e.g., your computer's hard drive AND an external hard drive).
- 1 Off-site Location (e.g., a cloud storage service like Google Drive, Dropbox, or a dedicated photo storage platform).
Phase 4: The Grand Finale (Presenting Your Gift)
This is the best part. You’ve put in the hours, and now you get to present this incredible gift of memory to your mom. Don't just hand her a USB drive. Make the reveal as special as the gift itself. Consider:
- A Digital Photo Frame: Pre-load it with all the scanned photos for a continuously changing display of memories.
- A Printed Photo Book: Create a "Best Of" album with the newly digitized and enhanced photos.
- A Family Slideshow: Set the photos to her favorite music and watch it together. Get the tissues ready.
This project is more than a technical task. It’s an act of preservation, a journey of discovery, and a profound expression of love. As you sift through these windows to the past, you’re not just scanning photos for Mom; you’re curating your family’s story for generations to come. And that is a gift without a price tag.